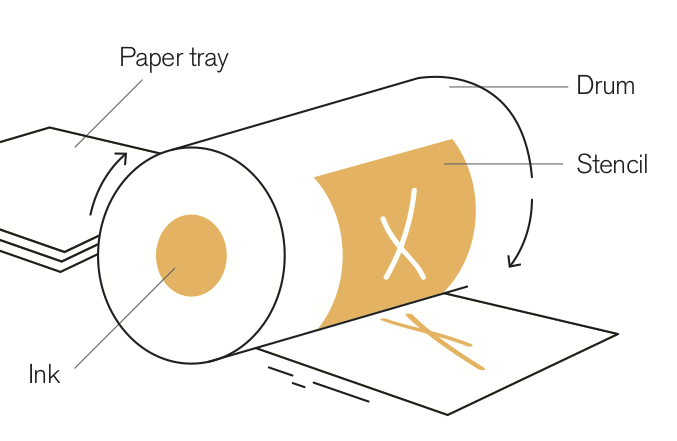
How it works
Riso machines create a stencil (sometimes called a master), similar to a silkscreen, which is repeatedly inked and rolled over pages.
Stencils are made from rice paper, perforated with tiny holes.
Spot color
Most color printing is achieved using a four-ink standard process — Cyan, Magenta, Yellow, and Black (CMYK).
With Riso, by contrast, you can choose one or several inks, from a studio’s spot colors. We are a six color studio:
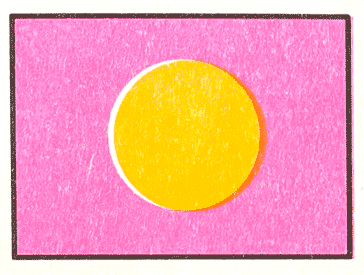
Many Riso ink pigments are outside the CMYK gamut — so you can print more vibrant colors than possible with standard process inks.
File Setup
There are two main paradigms for creating digital files:
Grayscale Layers
Output one grayscale file for each ink color.
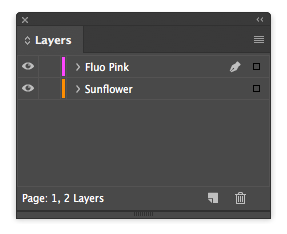
How-to: Create a separate layer for each ink color. Export each separately.
Simple, easy to get started. Can get unwieldy for complex designs.
Color Separation
Take a color original (drawing, photograph, etc) and convert it to Riso inks.
How-to:
- Use an app such as Spectrolite (easiest)
- Use Photoshop, following a YouTube tutorial.
- Download a special Riso ink profile from the Color/Shift project for use in Photoshop (highest quality results)
Works great for art, photos, posters, etc, but not suitable for small text
Instantly preview Riso prints & ink colors in our online Instant Proof tool
File checklist
Always export as PDF files — not JPG or PNG!
- 600ppi
- Name files clearly, e.g. “Maria – green.pdf”
- Set type using InDesign or Illustrator when possible (vector), rather than as an image (raster)
- No crop marks or registration marks
- Do not impose zines or books.
Design Considerations
Tints
Lighter shades in grayscale art will be screened — that is, converted into a halftone screen of smaller holes in the stencil. Therefore, you can access different tints of a color.
Trapping
You can “expand” colors a little bit into their background or borders to account for mis-registration in printing.
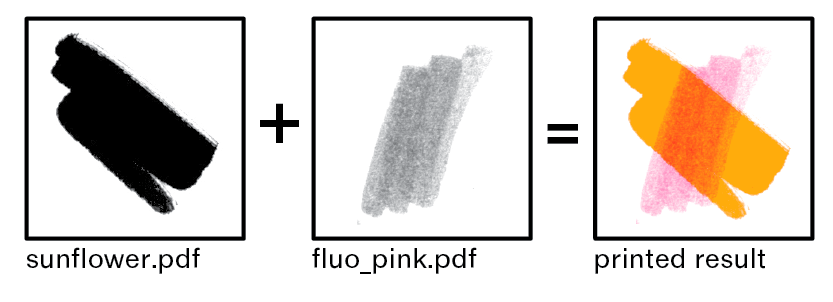
Overprinting
Riso inks are semi-transparent, so inks can be printed directly on top of each other.
You can intentionally overprint multiple colors to achieve color mixes.
Gradients & Drop Shadows
[Image example coming soon!]
Flattening & adding noise to gradients is recommended, to create a smoother stepping.
- Add noise tutorial for Photoshop.
- In GIMP, go to Filters > Noise > HSV Noise and apply.
Type
For best results, set your type as vectors in software such as Adobe InDesign or Illustrator.
We usually don’t recommend overprinting small type, as mis-registration of the inks can make it hard to read.
Dot Screen
Riso offers a choice for the dots of a halftone screen. This is measured in lines-per-inch (LPI).
If you don’t tell us a specific preference in LPI, we’ll use our best judgement.
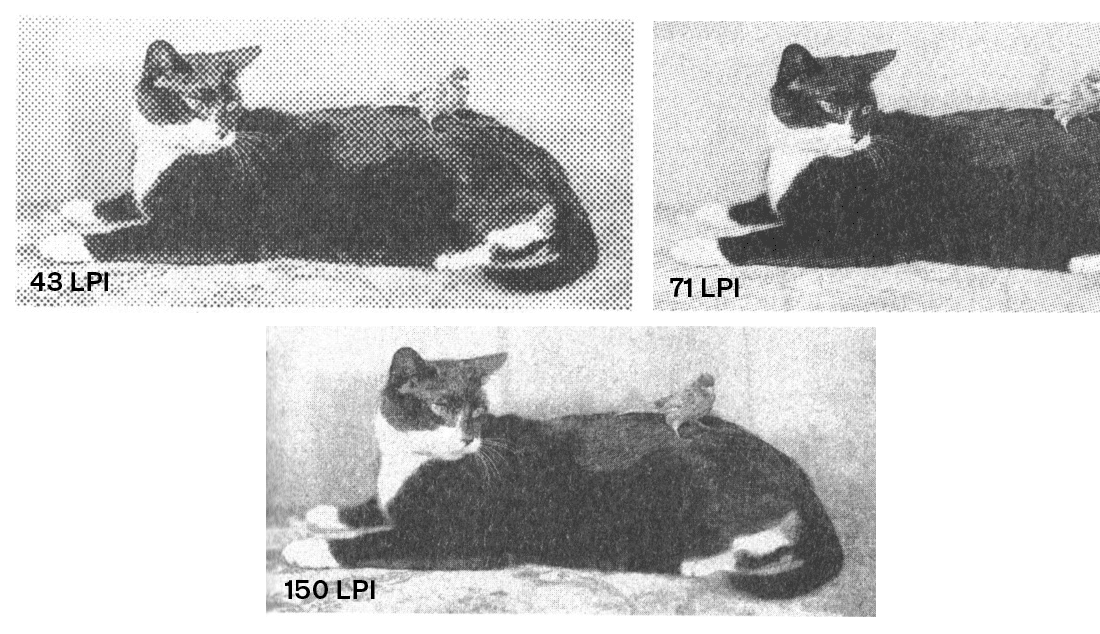
Higher LPI = finer detail.